Bubble Painting
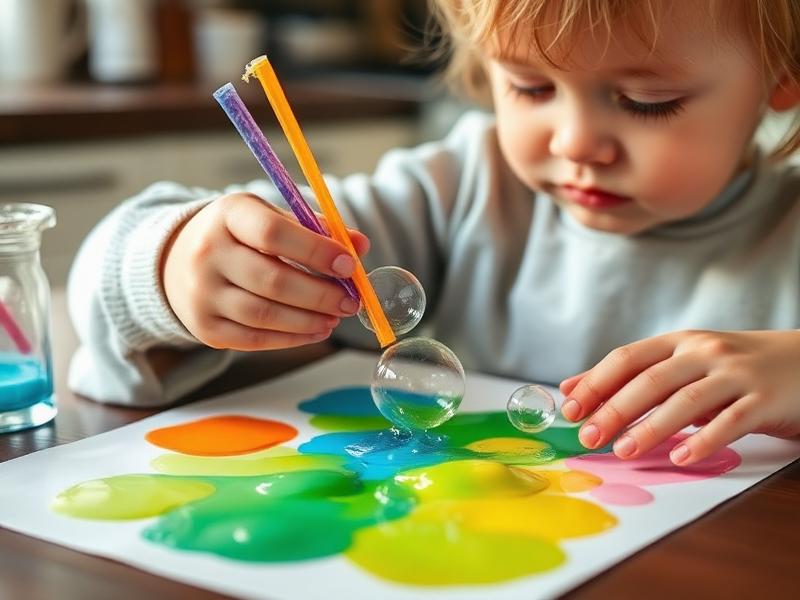
The first time we tried bubble painting, my son blew so hard that paint splattered all over his face. He laughed hysterically, looked in the mirror, and insisted on taking a picture of his 'clown face' before we washed it off. Since then, we've refined our technique (a small slit cut in the straw prevents sucking accidents), and he's become quite the bubble artist. There's something magical about watching those painted bubbles rise up from the container, hover for a moment, and then pop onto the paper, leaving perfect colorful circles behind.
Age Safety Note
The biggest safety concern is children sucking paint up through the straw. Prevent this by cutting a small slit near the top of the straw—air escapes through the slit, making suction impossible while still allowing blowing. Use only non-toxic, washable paint. Stay close to supervise and redirect if your child tries to drink rather than blow. Consider practice blowing through the straw in plain water first.
Why This Activity Works
Bubble painting builds oral motor strength—the same muscles used in speech development. The coordination required to blow steadily (not too hard, not too soft) develops breath control. And the cause-and-effect of bubbles rising and popping onto paper delights toddlers while teaching basic physics. The resulting artwork is uniquely beautiful, with overlapping circles that look almost professionally abstract.
Materials Needed
- Shallow containers
Small bowls or cups work well. One per color.
- Dish soap
A few drops per container creates the bubble solution.
- Washable paint
Tempera or craft paint. One color per container.
- Water
About 2 tablespoons per container—just enough to thin the paint.
- Straws
Cut a small slit near the top of each straw to prevent sucking.
- Paper
Thick paper or cardstock works best for holding the paint bubbles.
Prep Tips (Before You Start)
- 1Cut slits in straws before starting—this is the essential safety step.
- 2Mix paint, water, and a few drops of dish soap in each container. Test bubble-ability before presenting.
- 3Cover the work surface—this activity can splatter.
- 4Have your child practice blowing through the straw in plain water first.
- 5Set up near a sink for easy cleanup of painted faces and hands.
Step-by-Step Guide
- 1Demonstrate first: put the straw in the colored bubble mixture and blow gently until bubbles rise above the rim.
- 2Hold paper over the bubbles and let them pop onto the surface, leaving colorful circles.
- 3Invite your child to try. Guide them to blow outward, not suck inward. 'Blow like you're blowing out candles!'
- 4Cheer for bubbles! 'Look at all those bubbles! Now they're popping onto your paper!'
- 5Use multiple colors, letting bubbles from each container pop onto the same paper for a layered effect.
- 6If bubbles aren't forming, add more dish soap. If they're too frothy, add more water.
- 7Let artwork dry completely—bubble paintings are wet! Drying time is about 30-60 minutes.
Fun Variations to Try
- •Use the bubble mixture as regular bubbles too—wave the wand over paper and let bubbles land.
- •Fold paper in half before painting for symmetrical 'butterfly' prints.
- •Add glitter to the bubble mixture for sparkly artwork (supervise carefully).
- •Create greeting cards by bubble painting on folded cardstock.
Cleanup Tips
- Let leftover bubble mixture dry out in containers rather than pouring down the drain—prevents clogs.
- Rinse straws and reuse if they're not too paint-stained.
- Soap in the paint makes it wash off skin and clothes easily.
- Wipe down the table while paint is still wet—dried bubble paint is stickier.
Real Parent Story
"Milo had a speech delay—he wasn't babbling or attempting words at 18 months. His speech therapist suggested oral motor activities to strengthen the muscles used in speech. Bubble painting was one of her recommendations. We started with just blowing through straws in water, and Milo loved the bubbles so much that he practiced constantly. Then we added paint, and suddenly 'therapy' became 'art.' Over months of bubble painting, Milo's breath control improved dramatically. His first clear word—'bubble'—came while we were setting up for a painting session. I cried. Now at 2.5, he's catching up quickly, and bubble painting remains his favorite activity. We have a gallery wall of his bubble art, each painting a reminder of how far he's come. His speech therapist has pictures of his artwork in her office as inspiration for other families. What started as therapy became passion."
— Sophie, mom of 2.5-year-old Milo
Bonus Tips From Parents
- Thinner paint makes better bubbles. Add water gradually until you get the right consistency.
- If your child can't blow yet, wave the bubble wand over the paper—popping bubbles still make prints.
- Bubble paintings make beautiful gift wrap—make extra for wrapping presents.
- Document the process with photos—kids love seeing themselves creating.
References & Further Reading
General guidance we rely on when writing activities. These are broad resources rather than sources for this specific craft.
Toddler Ages & Stages
American Academy of Pediatrics
What to expect physically, socially and cognitively from 1 to 3 years.
The Power of Play
American Academy of Pediatrics
Why unstructured, hands-on play matters more than structured lessons at this age.
Choking Prevention
American Academy of Pediatrics
How to judge whether an object is a choking risk, and what to do if it happens.
Art Material Safety & the AP Seal
Art & Creative Materials Institute
Look up which craft supplies are certified non-toxic for children.
Toddler Play & Learning
Raising Children Network
Evidence-based play ideas grouped by developmental skill.
Poison Control
America's Poison Centers
Free 24/7 guidance if your child swallows something they shouldn't.
Ready for more fun?