Button Art Creation
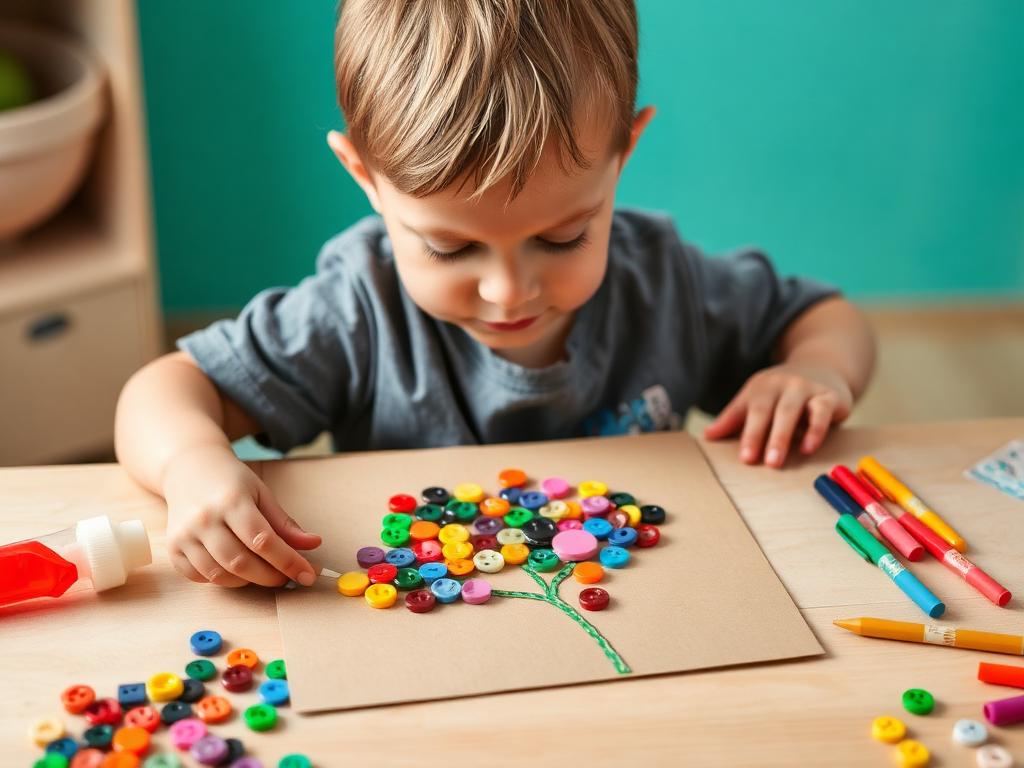
Button art was my grandmother's favorite craft, and now it's becoming my daughter's. There's something special about a jar of mismatched buttons—each one carrying a tiny piece of history from old shirts, lost coats, and forgotten sewing projects. When my four-year-old discovered our family button jar, she sorted them by color for almost an hour before we'd even started gluing. The finished piece—a tree with a button trunk and rainbow button leaves—now hangs in her bedroom. Every time she sees it, she remembers which button came from grandma's blouse.
Age Safety Note
Buttons are still choking hazards for children under four, so even with older preschoolers you must supervise closely throughout the project. Use only large buttons (at least one inch in diameter) and count them before and after play to ensure none have wandered. Adults should apply the strong glue; child-safe glue sticks aren't strong enough for buttons. Keep younger siblings out of the room during this activity. Never leave loose buttons unattended on tables where a curious toddler could grab one.
Why This Activity Works
Button art combines three big developmental wins for preschoolers: planning (where should the buttons go?), fine motor skill (picking up and placing small objects with precision), and creativity (making art from unconventional materials). Sorting buttons by color, size, or shape extends the activity and introduces math concepts. The repetition of placing button after button is calming and meditative. And the finished piece is genuinely beautiful—not the kind of craft that gets quietly thrown away, but one parents are proud to frame and display.
Materials Needed
- Large buttons
Mixed colors and sizes. At least 50-100 for a satisfying project.
- Strong glue
Tacky craft glue or hot glue (adult only). Glue sticks don't hold.
- Cardboard base
Sturdy enough to support the weight of buttons.
- Marker
For drawing the outline guide.
- Small bowls
For sorting buttons by color.
Prep Tips (Before You Start)
- 1Sort buttons into bowls by color ahead of time—or let your preschooler do this as part of the activity.
- 2Draw a simple outline on the cardboard: tree, flower, butterfly, heart, or initial.
- 3Set up at a table with newspaper underneath in case of glue drips.
- 4Have a damp cloth nearby for sticky fingers.
- 5Test your glue—it should hold a button in place without sliding.
Step-by-Step Guide
- 1Show your child the outline. 'I drew a tree. We're going to cover it with buttons!'
- 2Demonstrate by placing one dot of glue, then pressing a button onto it.
- 3Let your child choose buttons and place them—you handle the glue application.
- 4Encourage planning: 'What color should the leaves be?'
- 5Work in small sections to keep glue from drying before buttons are placed.
- 6Take breaks if attention wanders; you can resume the next day.
- 7When the outline is fully covered, let it dry overnight flat.
- 8Frame or display proudly the next day.
Fun Variations to Try
- •Make a rainbow by gluing buttons in color-grouped rows.
- •Spell your child's initial in buttons on a square of cardboard.
- •Create a button monogram for a grandparent's gift.
- •Glue buttons onto a wooden picture frame for a custom keepsake.
Cleanup Tips
- Count buttons before and after to confirm none have escaped.
- Wipe glue off the table immediately—dried craft glue is hard to remove.
- Store leftover buttons in a sealed jar high up on a shelf.
- Lay artwork flat to dry; standing it up causes button slide.
Real Parent Story
"I inherited my mother-in-law's button collection when she passed. I'd been keeping the jar on a high shelf, not sure what to do with it. One rainy afternoon, I brought it down and told Camille these buttons came from grandma's sewing room. She was so careful with them. We made a 'C' for Camille covered in buttons. She tells visitors which buttons are her favorites—the silver ones, the tiny pearl ones, the bright red one she picked first. The art is hanging in her room, and it feels like grandma is still part of our daily life. I cried a little when we hung it up."
— Renee, mom of 4-year-old Camille
Bonus Tips From Parents
- Vintage button collections add unique character—thrift stores often sell them.
- Hot glue dries fastest but requires adult-only handling.
- Frame finished pieces with a deep shadow-box frame to protect the buttons.
- Combine buttons with beads, sequins, or fabric scraps for mixed-media art.
References & Further Reading
General guidance we rely on when writing activities. These are broad resources rather than sources for this specific craft.
Toddler Ages & Stages
American Academy of Pediatrics
What to expect physically, socially and cognitively from 1 to 3 years.
The Power of Play
American Academy of Pediatrics
Why unstructured, hands-on play matters more than structured lessons at this age.
Choking Prevention
American Academy of Pediatrics
How to judge whether an object is a choking risk, and what to do if it happens.
Art Material Safety & the AP Seal
Art & Creative Materials Institute
Look up which craft supplies are certified non-toxic for children.
Toddler Play & Learning
Raising Children Network
Evidence-based play ideas grouped by developmental skill.
Poison Control
America's Poison Centers
Free 24/7 guidance if your child swallows something they shouldn't.
Ready for more fun?