Frozen Treasure Dig
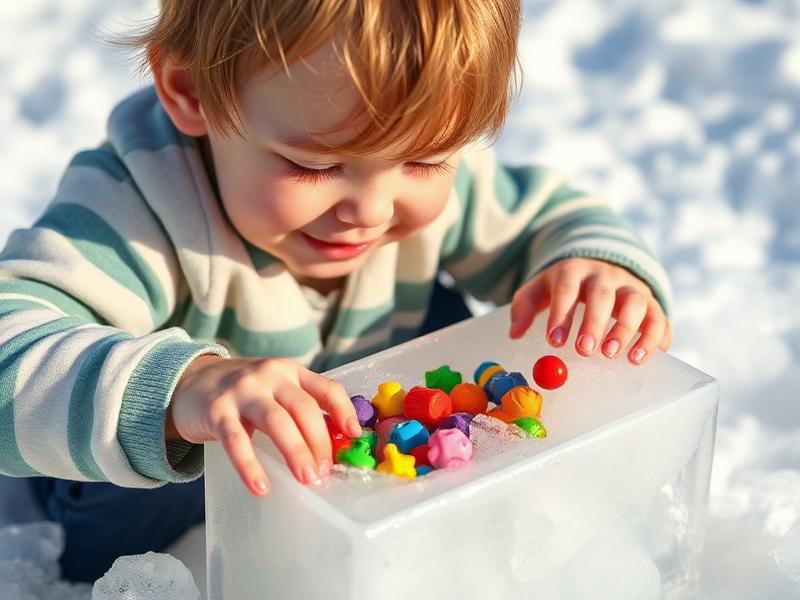
The first time we did frozen treasure dig, I made the amateur mistake of not having enough 'treasure' to find. My son excavated two dinosaurs in about four minutes and then looked at me expectantly, waiting for more. 'That's it?' his face seemed to say. Lesson learned. Now I pack those ice blocks full—dinosaurs, cars, bouncy balls, plastic animals—layer upon layer of discovery. Watching him spray, chip, and chisel his way through the ice, completely absorbed in the hunt, makes the overnight freezing time absolutely worthwhile.
Age Safety Note
This activity is ideal for 2-3 year olds who understand the concept of excavation. Ice can be very cold on little hands, so offer breaks, towels, and warm water options for thawing. All 'treasures' should be larger than a golf ball to prevent choking hazards. Supervise constantly—the water spray can create slippery surfaces, and excited toddlers may try to put ice in their mouths. If using warm water for melting, check temperature carefully first.
Why This Activity Works
Frozen excavation combines science, sensory play, and problem-solving in one irresistible activity. Toddlers learn about states of matter (solid ice becomes liquid water), cause and effect (warm water melts ice faster than cold), and patience (the treasure takes time to reveal). The varied textures—smooth ice, cold water, dripping surfaces—provide rich sensory input. And the anticipation of 'What's inside?' drives engagement in a way that few activities can match.
Materials Needed
- Plastic container
Large Tupperware, a loaf pan, or a bucket. Freeze in a size that matches your child's patience level.
- Small toys
Plastic animals, toy cars, bouncy balls—anything that's safe when wet and too large to swallow.
- Water
Fill the container in layers for best distribution of toys.
- Spray bottles
Fill with warm water for melting. Kid-sized spray bottles are easier for small hands.
- Spoons or child-safe 'chisels'
Wooden spoons, plastic hammers, or just fingers work great.
- Towels
For hands, for cleanup, and to place under the activity area.
Prep Tips (Before You Start)
- 1Layer the ice block: add some toys, pour water to cover, freeze an hour, add more toys, more water, repeat.
- 2Freeze overnight—rushing produces weaker ice that falls apart too fast.
- 3Set up outdoors if possible, or in a bathtub for easy water management.
- 4Fill spray bottles with warm (not hot) water before you begin. Cold water works but slower.
- 5Have towels ready. This gets wet—dress your child in clothes you don't mind getting soaked.
Step-by-Step Guide
- 1Pop the ice block out of the container—run warm water over the outside if it's stuck.
- 2Present the ice block to your child. 'Look! There are treasures frozen inside! How can we get them out?'
- 3Offer tools: spray bottles, spoons, cups of warm water. Let your child choose their excavation method.
- 4Model different techniques: 'I'm going to spray the corner... look, the ice is melting!'
- 5Celebrate each revealed treasure: 'You found a dinosaur! He was frozen and now he's free!'
- 6As interest peaks, you can add more warm water to speed things up. Extend by slowing down if they're still engaged.
- 7When all treasures are recovered, let your child play with them in the remaining ice water.
- 8For extended play, refreeze recovered toys for 'round two' another day.
Fun Variations to Try
- •Add food coloring to the ice layers for rainbow excavation.
- •Theme the treasures: all dinosaurs for 'prehistoric dig,' ocean animals for 'sea exploration.'
- •Use muffin tins to make mini ice blocks for shorter attention spans or party favors.
- •Freeze natural items like leaves, flowers, or berries (supervise carefully) for nature-themed exploration.
Cleanup Tips
- Let ice melt completely before attempting cleanup—half-melted ice is harder to manage.
- Gather wet toys and let them air dry in a colander or on a towel.
- If playing indoors, have a second adult on towel duty while one supervises play.
- Dump melt water in the garden or bathtub drain—it's just water, no cleanup needed.
Real Parent Story
"With twin toddlers, I'm always looking for activities that keep both boys engaged simultaneously. Frozen treasure dig is PERFECT for this. I make two identical ice blocks (they're very concerned about fairness at this age), each packed with the same toys. They sit on opposite ends of our picnic table in the backyard, each with their own spray bottle and spoon, and dig into their personal ice blocks. They compare progress: 'I found a lion!' 'I found a lion TOO!' The competition keeps them motivated. Sometimes they help each other: Max is better at spraying, Ben is more patient with the spoon. They collaborate without me having to facilitate. Last time, we played for almost an hour—unheard of for two-year-olds! When one finishes first, he 'helps' his brother. The cleanup is just hosing down the table and changing wet clothes. For the amount of engaged, mostly-independent play this activity provides, it's worth every minute of setup. I prep the ice blocks on Sunday night, and Monday morning I have a secret weapon ready for when the week gets hard."
— Leah, mom of 2.5-year-old twins Ben and Max
Bonus Tips From Parents
- Cold hands happen—have a break planned with warm water to dip hands in.
- If your child gets frustrated with slow progress, add warmer water or a salt shaker (salt melts ice faster).
- Document the revealed treasures by letting your child arrange them for a photo.
- Save exciting treasures for future ice blocks—the element of mystery keeps it special.
References & Further Reading
General guidance we rely on when writing activities. These are broad resources rather than sources for this specific craft.
Toddler Ages & Stages
American Academy of Pediatrics
What to expect physically, socially and cognitively from 1 to 3 years.
The Power of Play
American Academy of Pediatrics
Why unstructured, hands-on play matters more than structured lessons at this age.
Choking Prevention
American Academy of Pediatrics
How to judge whether an object is a choking risk, and what to do if it happens.
Art Material Safety & the AP Seal
Art & Creative Materials Institute
Look up which craft supplies are certified non-toxic for children.
Toddler Play & Learning
Raising Children Network
Evidence-based play ideas grouped by developmental skill.
Poison Control
America's Poison Centers
Free 24/7 guidance if your child swallows something they shouldn't.
Ready for more fun?