Leaf Rubbing Art
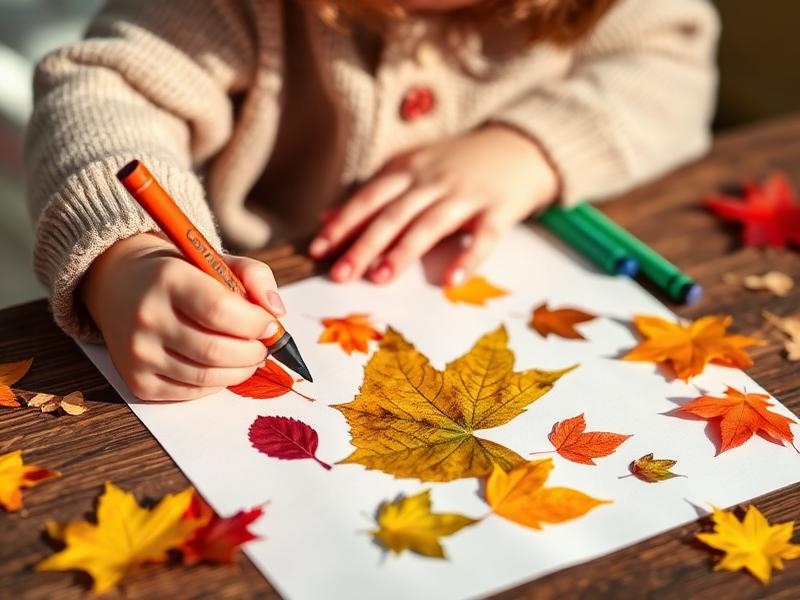
The first time my daughter did a leaf rubbing and watched the veiny pattern appear on her paper, she gasped and said, 'Mama, it's MAGIC!' She wasn't wrong. There is something almost magical about this simple technique—the way an invisible leaf suddenly becomes visible, revealing details you'd never notice just looking at it. This activity combines the joy of an outdoor nature walk with the satisfaction of creating art, and it works beautifully for toddlers who might struggle with drawing but can absolutely handle rubbing a crayon back and forth.
Age Safety Note
Perfect for 2-3 year olds with close adult supervision. The main safety focus is during the leaf-collecting walk: teach your child 'we look and collect, but we don't eat.' Many plants are toxic if ingested, and toddlers this age still put things in their mouths. Collect leaves together and keep them in a bag until you get home. Wash everyone's hands thoroughly after handling outdoor materials and before snack time. For the art portion, use thick crayons without the paper wrapper—these won't break as easily and there's no small paper bits to swallow.
Why This Activity Works
Leaf rubbing is brilliant for this age because it provides almost guaranteed success. Unlike drawing, where a 2-year-old's limited motor control might frustrate them, rubbing a crayon over a leaf produces a beautiful result every time. The activity strengthens the lateral arm movements that will later help with writing. The sensory experience of feeling the leaf texture appear through the paper is deeply satisfying. And the nature walk component adds physical activity, outdoor time, and opportunities to talk about the natural world—where do leaves come from? Why do they fall? What do trees eat?
Materials Needed
- Large, sturdy leaves
Collect fresh leaves with prominent veins. Maple, oak, and elm leaves work wonderfully. Avoid very thin or delicate leaves that tear easily.
- Crayons with paper removed
Peel off the paper wrapper and use the crayon's side for rubbing. Darker colors show up best.
- White paper
Thinner paper like copy paper shows the pattern better than thick cardstock.
- Small paper bag
For collecting leaves during your walk.
- Masking tape
Optional, but helpful for securing leaves under the paper so they don't slip.
Prep Tips (Before You Start)
- 1Peel the paper wrapping off crayons before your walk—this always takes longer than you'd think!
- 2Bring a small bag for leaf collecting. Let your child choose which leaves to gather.
- 3Look for leaves that are fresh (not dried and crumbly) and relatively flat.
- 4When you get home, arrange a few leaves on a flat, hard surface. Carpet doesn't work well.
- 5Tape the leaves down lightly at the stems to prevent sliding. This small step prevents big frustration!
Step-by-Step Guide
- 1Start with a nature walk! Let your child lead the way and point out leaves they find interesting. Talk about colors, shapes, and sizes.
- 2Collect 5-10 good leaves together. This is half the fun—the treasure hunt!
- 3Back home, wash hands and let leaves dry if they're damp from dew or rain.
- 4Place one leaf on a hard surface (table or clipboard), vein-side UP. The bumpy side needs to face upward.
- 5Lay a piece of white paper over the leaf. You should be able to see the leaf shape slightly through the paper.
- 6Show your child how to hold the paper still with one hand (or tape it down), then rub the side of a crayon gently over the leaf area.
- 7Watch the magic happen! As they rub, the leaf's shape and vein pattern will appear. Say 'Do you see it? The leaf is showing up!'
- 8Try different colored crayons on the same leaf, or different leaves on the same paper for a collage effect.
- 9When finished, hold the artwork up to a window to see how the light shines through the impressions.
Fun Variations to Try
- •Use fall leaves in oranges and browns, then do spring leaves in green—compare how they look different.
- •Try rubbing other flat textured objects: coins, textured placemats, corrugated cardboard.
- •Create leaf rubbing cards to mail to grandparents—fold the paper in half and write a message inside.
- •Make a 'leaf identification book' with one rubbing per page and the tree name written below (parent writes).
Cleanup Tips
- Compost the leaves when you're done—talk about how they'll become food for new plants.
- Store nice flat leaves between heavy book pages. They'll dry and can be used for weeks.
- Broken crayon pieces work just fine for rubbing—save them in a jar.
- Display finished artwork where your child can see and remember their nature walk.
Real Parent Story
"Mia and I started doing leaf rubbings last September, and it's become our special thing. Every weekend we take a 'leaf walk' around the neighborhood. She knows which houses have the best trees now—Mrs. Patterson's maple, the oak by the park, the 'mystery tree' on Elm Street with the leaves she can't identify. We have a whole stack of leaf rubbings now, and I've started labeling them on the back with the date and location. It's basically a nature journal created by a two-year-old. Last week she asked if we could send some to Grandpa in California so he could 'see what fall looks like.' That kid kills me. The rubbings she made last month are now on Grandpa's refrigerator, and he texts us photos of them. What started as a rainy day activity has become a family connection across three thousand miles. Never underestimate the power of a few leaves and a peeled crayon."
— Tom, dad of 2.5-year-old Mia
Bonus Tips From Parents
- If leaves keep sliding, a tiny dot of sticky tack underneath works better than tape.
- Late fall leaves with less moisture produce crisper rubbings than fresh spring leaves.
- Have your child feel the leaf veins with their finger before rubbing—builds understanding.
- Make it a weekly tradition: 'Leaf Rubbing Saturdays' gives something to look forward to.
References & Further Reading
General guidance we rely on when writing activities. These are broad resources rather than sources for this specific craft.
Toddler Ages & Stages
American Academy of Pediatrics
What to expect physically, socially and cognitively from 1 to 3 years.
The Power of Play
American Academy of Pediatrics
Why unstructured, hands-on play matters more than structured lessons at this age.
Choking Prevention
American Academy of Pediatrics
How to judge whether an object is a choking risk, and what to do if it happens.
Art Material Safety & the AP Seal
Art & Creative Materials Institute
Look up which craft supplies are certified non-toxic for children.
Toddler Play & Learning
Raising Children Network
Evidence-based play ideas grouped by developmental skill.
Poison Control
America's Poison Centers
Free 24/7 guidance if your child swallows something they shouldn't.
Ready for more fun?