Marble Painting Art
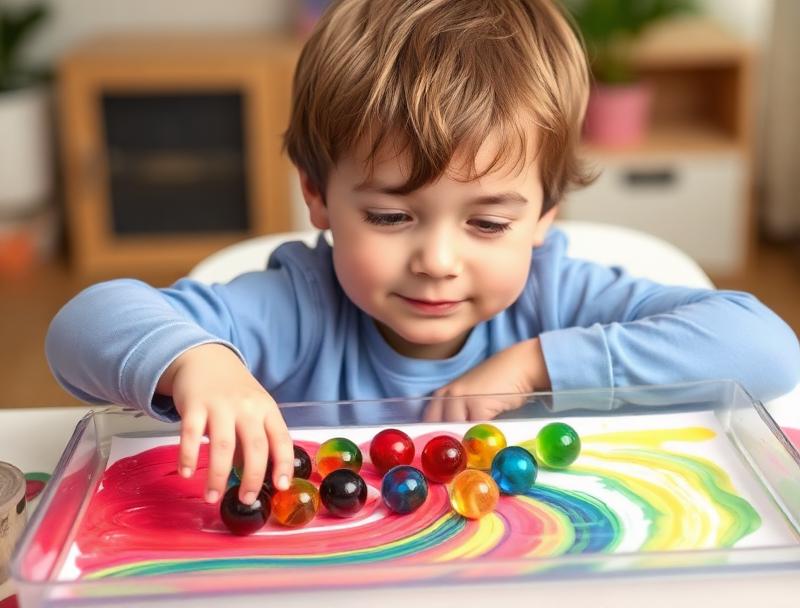
Marble painting might be the closest thing to 'magic' that exists in the toddler art world. You place a marble in paint, drop it into a box lined with paper, and then tilt the box back and forth while the marble rolls around, leaving colorful trails in its wake. The resulting artwork looks like something from a modern art museum—all swirls and intersecting lines and unexpected color combinations. My daughter gasps every time we lift the paper out to reveal what the marble created. 'The marble made THAT?' Yes, baby. The marble made that, with help from your tilting arms and your color choices.
Age Safety Note
Marbles are serious choking hazards. This activity is only appropriate for 3-4 year olds who have outgrown the mouthing stage, and even then, it requires constant adult supervision. Never leave a child alone with marbles. Count marbles before and after the activity to ensure none have gone missing. The activity should be done at a table, not on the floor where marbles might escape unnoticed. Use a spoon to move paint-covered marbles to avoid constant hand washing.
Why This Activity Works
Marble painting develops both gross motor skills (tilting the box requires coordination and bilateral arm movement) and scientific thinking (cause and effect, predicting marble paths, observing color mixing). The process is more engaging than the product for most kids—there's something almost hypnotic about watching that marble roll. And because the marble does the 'drawing,' children who feel insecure about their artistic abilities can create beautiful work without skill-related anxiety. Everyone's marble painting is a masterpiece.
Materials Needed
- Shallow box or baking pan
Large enough for your paper, with sides high enough to contain rolling marbles.
- Paper
Cut to fit inside the box. Cardstock or thick paper works better than thin paper that may tear.
- Washable paint
Several colors. Squeeze small puddles directly onto the paper or use a plate for dipping.
- Marbles
Standard-size marbles work best. Larger ones roll too slowly; smaller ones are higher choking risk.
- Spoon
For moving paint-covered marbles between colors without making a mess of hands.
Prep Tips (Before You Start)
- 1Cut paper to fit your box before starting.
- 2Set up at a large table where the box can be tilted safely.
- 3Pour small amounts of 3-4 paint colors onto paper plates for dipping.
- 4Have paper towels ready for spills and drips.
- 5Do a 'dry run' first without paint so your child understands the tilting motion.
Step-by-Step Guide
- 1Place a sheet of paper in the bottom of your box or pan. 'This is our marble's playground!'
- 2Drop or squeeze small puddles of paint directly onto the paper, or dip the marble in paint.
- 3Using a spoon, place a paint-covered marble in the box. 'Ready to make the marble roll?'
- 4Show your child how to tilt the box gently side to side, watching the marble roll through the paint.
- 5As the marble moves, it picks up paint and leaves colorful trails. 'Look at the lines it's making!'
- 6Add more marbles in different colors for more complex patterns.
- 7When your child is satisfied (or the paper is full!), carefully remove the paper to dry.
- 8Use a spoon to remove marbles for washing. Count them to make sure none escaped!
Fun Variations to Try
- •Use golf balls for thicker lines and slower rolling.
- •Try different-shaped boxes (round cake pans create circular patterns).
- •Add glitter to the paint for sparkly trails.
- •Make holiday cards using seasonal colors: red and green, orange and black, pastels for spring.
Cleanup Tips
- Marbles clean easily in warm soapy water—just make sure not to lose any down the drain.
- Paint drips on tables wipe up easily when still wet.
- Store marbles in a secure container that your child cannot open unsupervised.
- Let artwork dry flat for at least 30 minutes—marble paint can be thick and takes time.
Real Parent Story
"Diego has always been what I diplomatically call 'active.' Sitting still for crafts was never his thing—he'd do three crayon strokes and run away to climb something. Marble painting changed everything. Maybe it's the movement involved, the way his whole body gets to participate in tilting the box. Maybe it's the unpredictability of where the marble will go next. Whatever it is, he stays engaged for twenty minutes at a time—a record for this kid. He stands at the table, gripping the box edges, tilting like a little ship captain navigating stormy seas. His tongue sticks out in concentration. When we reveal the finished painting, he studies it seriously, pointing out paths: 'The blue marble went there, then there, then CRASHED into the red!' We have a whole gallery wall of marble paintings now. They genuinely look like abstract art, and guests are always surprised to learn a three-year-old made them. Diego is proud of that wall. For a kid who often hears 'slow down,' marble painting lets him move AND create. It's perfect for him."
— Rosa, mom of 3.5-year-old Diego
Bonus Tips From Parents
- If marbles escape the box, they'll be covered in paint—have paper towels ready to catch runaways.
- The same paper can be used multiple times for increasingly complex patterns.
- Try adding marbles one at a time to see distinct paths before adding another color.
- Frame marble paintings—they look surprisingly sophisticated for toddler art!
References & Further Reading
General guidance we rely on when writing activities. These are broad resources rather than sources for this specific craft.
Toddler Ages & Stages
American Academy of Pediatrics
What to expect physically, socially and cognitively from 1 to 3 years.
The Power of Play
American Academy of Pediatrics
Why unstructured, hands-on play matters more than structured lessons at this age.
Choking Prevention
American Academy of Pediatrics
How to judge whether an object is a choking risk, and what to do if it happens.
Art Material Safety & the AP Seal
Art & Creative Materials Institute
Look up which craft supplies are certified non-toxic for children.
Toddler Play & Learning
Raising Children Network
Evidence-based play ideas grouped by developmental skill.
Poison Control
America's Poison Centers
Free 24/7 guidance if your child swallows something they shouldn't.
Ready for more fun?