Paper Chain Making
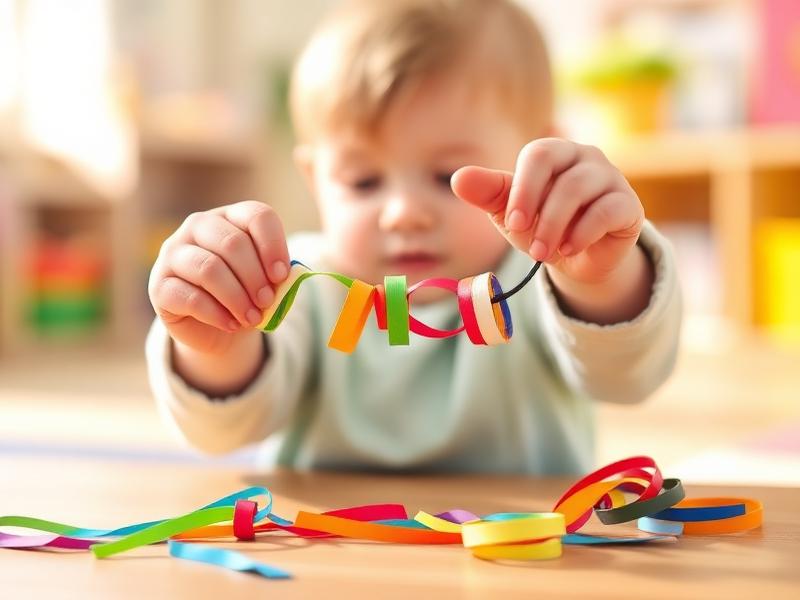
Paper chains are one of those crafts that seems simple but teaches so much. Watching my toddler connect loop after loop, tongue sticking out in concentration, I realized he was learning sequencing, patience, and the satisfaction of building something that grows with each step. We made a countdown chain for his third birthday—one loop for each day until the party. Every morning, we'd remove a loop together and count how many were left. By the time his birthday arrived, he understood 'waiting' in a way he never had before.
Age Safety Note
For younger toddlers (closer to 2), pre-cut all paper strips and assist with gluing. Safety scissors can be introduced to older toddlers (closer to 3) with close supervision. Glue sticks are safer than liquid glue for this age. Some children may need hand-over-hand guidance to understand the looping concept. Paper chains should be hung out of reach to prevent entanglement.
Why This Activity Works
Paper chains develop both fine motor skills and cognitive concepts. The repetitive action of looping and gluing builds muscle memory and hand strength. The visual growth of the chain teaches patience and delayed gratification—the more you work, the longer it gets. Counting links introduces early math concepts. And creating countdown chains for events teaches time concepts in a concrete, tangible way.
Materials Needed
- Construction paper strips
About 1 inch wide and 6-8 inches long. Pre-cut for younger toddlers.
- Glue sticks
Easier and less messy than liquid glue. Have a few on hand.
- Safety scissors (optional)
For older toddlers who are learning to cut.
- Ruler and pencil
Adult uses to mark cutting lines if making strips from full sheets.
Prep Tips (Before You Start)
- 1Pre-cut strips for toddlers under 2.5. It's the assembly, not the cutting, that's developmentally appropriate.
- 2Offer 3-4 colors to choose from—too many options overwhelms.
- 3Show the finished product first (make a sample chain) so they understand the goal.
- 4Set up at a table with enough space to spread the chain out as it grows.
- 5Have a hook or pushpin ready to hang the finished chain where your child can admire it.
Step-by-Step Guide
- 1Make the first link yourself while narrating: 'I curl the paper into a loop... add glue... press. One link!'
- 2For the second link, demonstrate threading a new strip through the first loop before curling and gluing.
- 3Hand over the materials. Guide your child's hands through the motion if needed.
- 4'Your turn! Pick a color. Now put it through the loop. Curl it around. Glue stick... press!'
- 5Celebrate each completed link. 'Two links! Three links! Your chain is getting so long!'
- 6When the chain reaches a satisfying length, help hang it up for display.
- 7If making a countdown chain, remove one link each morning as part of a daily ritual.
Fun Variations to Try
- •Make pattern chains: red, blue, red, blue—introduces early patterning skills.
- •Create themed chains: all one color for holidays, rainbow for pride, etc.
- •Write numbers or letters on links for educational chains.
- •Make chains for decorating birthday parties, Christmas trees, or bedrooms.
Cleanup Tips
- Glue stick wipes off tables and hands easily with a damp cloth.
- Store leftover paper strips in a ziplock bag for future chain-making sessions.
- Sweep up paper scraps and add to recycling.
- Finished chains can be gently folded for storage and reused as decorations.
Real Parent Story
"Nate has no concept of time. 'How many more sleeps until Christmas?' I'd say 'twenty-three' and he'd have no idea what that meant. This year, we made a paper chain. Twenty-three red and green loops, hanging from his doorframe. Every morning, he races to the chain, tears off a loop, and counts the remaining ones with me. 'Seventeen more sleeps! That's a lot!' We started doing this for every exciting event: grandma's visit (a purple chain), his friend's birthday party (a rainbow chain), the first day of summer (a yellow chain). He finally GETS time. Last week he said, 'Only three loops until the zoo!'—completely unprompted, perfect time understanding. A craft I expected to last fifteen minutes has become a year-round ritual that taught my child something I thought was impossible to teach. Never underestimate paper chains."
— Rachel, mom of 3-year-old Nate
Bonus Tips From Parents
- Don't stress about perfect loops—wonky chains are just as beautiful.
- Make the chain long enough to drape somewhere visible—length is part of the satisfaction.
- Use old wrapping paper cut into strips for extra color and texture.
- Photograph your child holding their finished chain—they grow up so fast.
References & Further Reading
General guidance we rely on when writing activities. These are broad resources rather than sources for this specific craft.
Toddler Ages & Stages
American Academy of Pediatrics
What to expect physically, socially and cognitively from 1 to 3 years.
The Power of Play
American Academy of Pediatrics
Why unstructured, hands-on play matters more than structured lessons at this age.
Choking Prevention
American Academy of Pediatrics
How to judge whether an object is a choking risk, and what to do if it happens.
Art Material Safety & the AP Seal
Art & Creative Materials Institute
Look up which craft supplies are certified non-toxic for children.
Toddler Play & Learning
Raising Children Network
Evidence-based play ideas grouped by developmental skill.
Poison Control
America's Poison Centers
Free 24/7 guidance if your child swallows something they shouldn't.
Ready for more fun?