
Paper Plate Faces
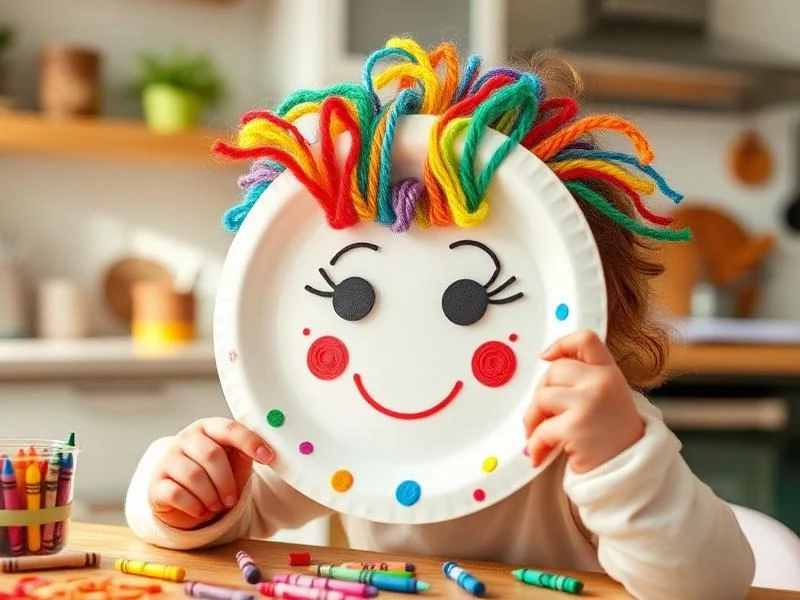
Draw a face on a paper plate with crayons and markers labeled for the child's age. This guide covers setup, drawing, and display.
Age Safety Note
This activity is intended for children aged 2-3 with adult supervision. Art supplies are not food, even when labeled non-toxic. Follow product age labels, prevent mouthing, and avoid loose decorations if the child mouths objects.
What This Activity Offers
Drawing a face on a paper plate leaves room for personal choices. A caregiver can invite the child to pick colors or describe the features they add; the result may be abstract, funny, or simple.
Materials Needed
- Paper plates
Standard white dinner plates work perfectly. The sturdy ones hold up better to enthusiastic decorating.
- Crayons
Choose crayons labeled for the child's age, inspect them for damage, and supervise to prevent mouthing.
- Washable markers
Use only products labeled for the child's age and follow their directions.
Prep Tips (Before You Start)
- 1Cover the work surface and set out only the age-labeled crayons and markers you plan to use.
- 2Put out a few colors at a time; offer more if the child asks.
- 3Keep a damp cloth nearby for cleanup.
- 4Use a stable table and seat, and stay close while the child draws.
Step-by-Step Guide
- 1Sit down together and look at the paper plate. Ask your toddler, 'Who should we make today?' Don't be surprised if they say a pet, a grandparent, or a character from their favorite show.
- 2Hand over the crayons and let your child draw the face. Resist the urge to guide their hand or 'fix' anything. A face with three eyes and a sideways nose is absolutely perfect.
- 3While they draw, describe the marks you notice: 'I see blue eyes and a pink mouth.' Follow the child's lead without correcting the drawing.
- 4Invite the child to add drawn details such as hair, glasses, or a hat; skip loose pieces if mouthing is possible.
- 5Look at the finished drawing together and ask an open question if the child wants to talk about it.
- 6Find a special spot to display the artwork—the fridge, their bedroom door, or mailed to a grandparent who'd love a handmade portrait.
Fun Variations to Try
- •Make animal faces by drawing features such as cat ears or a bunny nose. Avoid loose decorations that a child could mouth.
- •Create a 'feelings plate' where you make a happy face, sad face, or surprised face together and talk about emotions.
- •Use different crayon colors or draw a background around the face.
- •Make a family portrait series with one plate for each family member, including pets!
Cleanup Tips
- Crayons wipe off tables and hands easily with a baby wipe or damp cloth.
- Leftover paper plates stack perfectly in a drawer or pantry for next time.
- If glue dried on the table, a damp cloth left on it for a minute loosens it right up.
Additional Tips
- If your toddler loses interest quickly, that's okay! Even five minutes of creating is valuable.
- Don't ask 'what is it?' Instead say 'tell me about your picture' to avoid making them feel judged.
- Some kids want to make many plates in one sitting—go with their energy!
- Keep one 'perfect' plate of yarn and crayons ready to go for impromptu crafting sessions.
References & Further Reading
General background resources for readers. They do not verify or test any specific activity, material, or setup described on this site.
Toddler Ages & Stages
American Academy of Pediatrics
What to expect physically, socially and cognitively from 1 to 3 years.
The Power of Play
American Academy of Pediatrics
An overview of play and its place in early childhood.
Choking Prevention
American Academy of Pediatrics
General guidance on choking risks and prevention for children.
Small Parts and Choking Hazard Labeling FAQs
U.S. Consumer Product Safety Commission
Explains U.S. small-parts rules and choking-hazard labels for children's products; household materials still need separate adult judgment.
Water Safety and Young Children
American Academy of Pediatrics
Guidance on close supervision around water and emptying open containers after use.
Lead in Soil
U.S. Environmental Protection Agency
Explains soil exposure during play and recommends preventing soil eating and washing exposed skin after contact.
Preventing Window Falls
U.S. Consumer Product Safety Commission
Window guards, stops, and keeping furniture away from windows can help reduce fall risks.
Art Material Safety & the AP Seal
Art & Creative Materials Institute
Explains the ACMI certification seals used on some art and creative materials.
Toddler Play & Learning
Raising Children Network
Play ideas and age-based information for caregivers.
Poison Control
America's Poison Centers
Free 24/7 guidance if your child swallows something they shouldn't.
Ready for more fun?