Salt Dough Ornaments
Every December, we pull out the ornament box and there they are: salt dough handprints from years past. My daughter's hand at 18 months, barely bigger than a walnut. Her hand at two and a half, chubby fingers spread wide. Last year's, finally looking like a 'real' hand with defined fingers. I hold them up to her current palm and we marvel at how much she's grown. These ornaments cost almost nothing to make—flour, salt, water—but they've become some of our most treasured possessions. If our house caught fire, I'd grab the ornament box.
Age Safety Note
Salt dough is non-toxic, but it's very salty and not meant to be eaten. Discourage tasting—one lick is usually enough to prevent repeated attempts because it tastes terrible! For 3-4 year olds, the dough-making and shaping are appropriate activities, but all oven baking must be done by adults with children safely away from the hot oven. Let ornaments cool completely before allowing children to paint—they retain heat longer than you'd expect.
Why This Activity Works
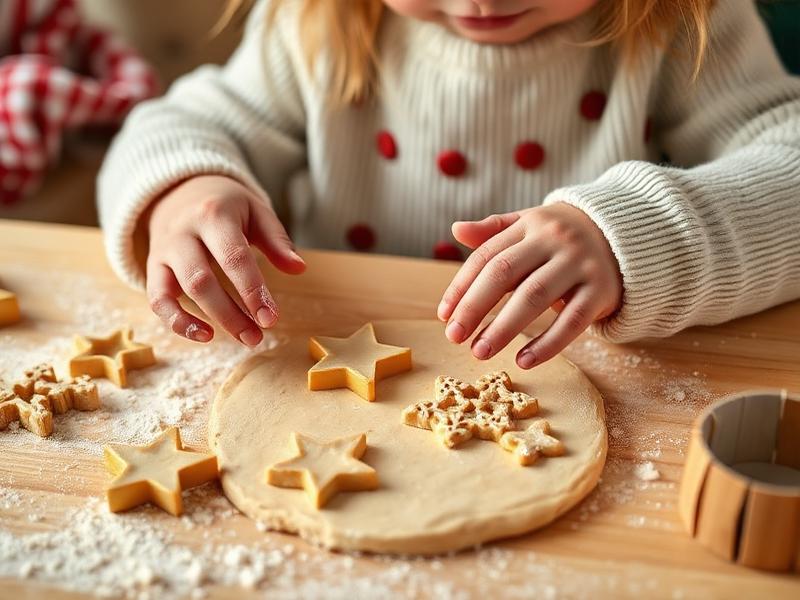
Salt dough ornaments combine sensory play, fine motor skill development, and meaningful tradition-building. The kneading process provides proprioceptive input and strengthens hand muscles. Using cookie cutters exercises bilateral coordination. For preschoolers who are developing pride in their creations, ornaments become lasting evidence of their work—unlike paper that rips or paintings that fade. The multi-step process (make, bake, paint, display) teaches sequencing and delayed gratification.
Materials Needed
- All-purpose flour
2 cups per batch. White flour produces smoother dough than whole wheat.
- Table salt
1 cup per batch. Use fine salt, not coarse—it dissolves better.
- Water
About 1 cup, added gradually until dough comes together.
- Cookie cutters
Simple shapes work best—hearts, stars, circles, animals.
- Rolling pin
Or use hands to flatten. Aim for 1/4 inch thickness.
- Straw
For making hanging holes before baking.
- Acrylic paints
For decorating after baking. Non-toxic and quick-drying.
- Ribbon or twine
For hanging. Cut after painting when you know hole size.
Prep Tips (Before You Start)
- 1Clear a large work surface—dough-making spreads out.
- 2Measure ingredients ahead of time for easy adding.
- 3Line baking sheets with parchment paper before you start.
- 4Have damp cloths ready for sticky hands between steps.
- 5Preheat oven to 250°F (120°C)—low and slow prevents cracking.
Step-by-Step Guide
- 1Mix flour and salt in a large bowl. Let your child stir with a wooden spoon.
- 2Slowly add water while mixing until dough forms a ball. Adjust with more flour if sticky, more water if crumbly.
- 3Knead dough together for 3-5 minutes. This is great for little hands! Let your child squeeze and punch.
- 4Roll dough to about 1/4 inch thickness on a lightly floured surface.
- 5Press cookie cutters firmly to cut shapes. Show your child how to lift straight up after pressing.
- 6For handprint ornaments, press your child's hand firmly into flattened dough. Cut around with a knife (adult job).
- 7Use a straw to poke hanging holes near the top of each shape. Wiggle slightly to widen the hole.
- 8Place ornaments on lined baking sheet. Adult bakes at 250°F for 2-3 hours until completely hard.
- 9Cool completely—several hours or overnight. Then paint with acrylics and thread ribbon through holes!
Fun Variations to Try
- •Press texture into dough before cutting: lace, leaves, or bubble wrap make beautiful imprints.
- •Make 'fossil' ornaments by pressing toy dinosaurs or seashells into dough, then removing before baking.
- •Add food coloring to the water before mixing for pre-colored dough (less painting needed).
- •Create 'picture frame' ornaments by cutting two concentric circles and removing the center.
Cleanup Tips
- Dough wipes off surfaces easily before it dries—clean as you go.
- Dried dough on counters softens with a damp cloth left on it for a few minutes.
- Flour dust sweeps up easily; vacuum if it spread far.
- Paint brushes should be washed immediately after use.
Real Parent Story
"We started making salt dough ornaments when Emma was barely two—she wasn't even really helping, just watching. But I made a handprint and dated it, thinking someday she'd appreciate having it. Now she's three and a half, and ornament-making has become our November tradition. Last year she understood the whole process: mixing, kneading, cutting, waiting for baking, and finally painting. She made a star for grandma, a heart for grandpa, and insisted on making a bone shape for our dog. She painted the dog's ornament brown with black spots to match him exactly. These things cost pennies to make, but when grandma opened her package and saw that little star, she cried. Emma video-called to explain how she made it: 'First you stir, then you squish, then the oven cooks it, then you paint!' She was SO proud. The ornaments aren't perfect—they're lumpy and the paint goes outside the lines—but they're perfect to us. I keep every single one. In forty years, I'll still have that first handprint from when she was two, and I will absolutely still cry when I see it."
— Chen, dad of 3.5-year-old Emma
Bonus Tips From Parents
- Seal painted ornaments with clear acrylic spray (adult only, outdoors) for durability.
- Write the year and child's name on the back with permanent marker.
- Store in tissue paper between seasons—they're fragile!
- Make extras to give as gifts. Grandparents especially treasure handprint ornaments.
References & Further Reading
General guidance we rely on when writing activities. These are broad resources rather than sources for this specific craft.
Toddler Ages & Stages
American Academy of Pediatrics
What to expect physically, socially and cognitively from 1 to 3 years.
The Power of Play
American Academy of Pediatrics
Why unstructured, hands-on play matters more than structured lessons at this age.
Choking Prevention
American Academy of Pediatrics
How to judge whether an object is a choking risk, and what to do if it happens.
Art Material Safety & the AP Seal
Art & Creative Materials Institute
Look up which craft supplies are certified non-toxic for children.
Toddler Play & Learning
Raising Children Network
Evidence-based play ideas grouped by developmental skill.
Poison Control
America's Poison Centers
Free 24/7 guidance if your child swallows something they shouldn't.
Ready for more fun?