Sensory Bag Squish
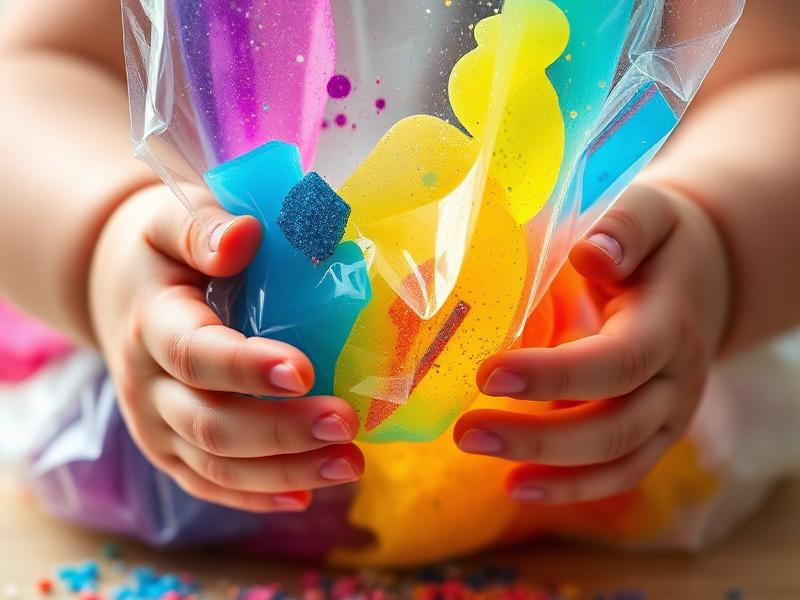
The first time I handed my baby a sealed sensory bag, she stared at it like I'd given her a window into another dimension. She poked it. She squished it. She pressed her whole palm against it and watched the gel ooze between her fingers through the plastic. For twenty solid minutes, she was captivated by this simple creation: hair gel, food coloring, and a ziplock bag. No mess on her hands, no cleanup required, just pure sensory exploration. Sensory bags became our secret weapon for restaurants, car rides, and those desperate late-afternoon hours when I needed ten minutes to make dinner.
Age Safety Note
Sensory bags are safe when properly constructed, but require vigilant supervision. Double-seal the bag with duct tape to prevent leaks. NEVER leave a baby alone with a plastic bag—supervision is essential. Check bags before each use for holes, weak spots, or seal failures. When the bag shows any wear, discard it and make a fresh one. For babies who bite, consider taping the bag to a window or high chair tray so they can squish but can't put the edge in their mouth.
Why This Activity Works
Sensory bags provide tactile stimulation without the mess of traditional sensory play. Babies at this age are driven to explore textures, and the squishy, moving gel inside a sealed bag satisfies that drive safely. The visual component—watching colors move and swirl—adds another layer of engagement. Fine motor skills develop as babies learn to push, poke, and pinch the bag. And for parents, sensory bags offer a rare win: engaging sensory play with zero cleanup.
Materials Needed
- Heavy-duty ziplock bags
Freezer bags are thicker and more durable than regular storage bags.
- Hair gel
Clear or colored. The cheap store brand works perfectly—no need for fancy products.
- Food coloring
Adds visual interest. Gel food coloring is more vibrant than liquid.
- Duct tape
Essential for securing the seal. Apply to both sides of the zip closure.
- Optional add-ins
Small buttons, googly eyes, or glitter for visual interest (these must be sealed VERY securely).
Prep Tips (Before You Start)
- 1Fill the bag about 1/3 full of hair gel—too much makes it too thick to squish easily.
- 2Add 3-5 drops of food coloring and seal the bag before mixing to prevent spills.
- 3Squeeze out excess air before sealing—less air means less popping risk.
- 4Apply duct tape along the entire seal, covering both sides, and extend it down the sides of the bag.
- 5Test the seal yourself by squishing firmly before giving to baby.
Step-by-Step Guide
- 1Squirt hair gel into the ziplock bag, filling about 1/3 of the bag.
- 2Add a few drops of food coloring. Primary colors or rainbow combinations both work beautifully.
- 3Seal the bag, squeezing out air as you close it.
- 4Mix the colors by squishing the bag from the outside—don't open it!
- 5Apply duct tape over the entire seal area to prevent accidental opening.
- 6Present to baby! Show them how to push the gel around: 'Look, you can squish it!'
- 7For hands-free play, tape the bag to the high chair tray or a window at baby's height.
- 8Store in a cool place between uses. Check the seal before each play session.
Fun Variations to Try
- •Add small objects inside: buttons, googly eyes, beads (extra-secure sealing required).
- •Use two colors of gel in the same bag for color mixing exploration.
- •Add glitter to the gel for sparkly sensory magic.
- •Make a 'seek and find' bag with small toys hidden in colored gel.
Cleanup Tips
- No cleanup needed if the bag stays sealed—that's the whole point!
- Wipe the outside of the bag with a damp cloth if it gets sticky.
- Store bags flat in a cool location. Heat can weaken plastic.
- Dispose of bags when they show any signs of wear—better safe than sorry.
Real Parent Story
"Restaurant dinners with a baby were impossible until sensory bags. Jasper wanted to touch everything, throw everything, taste everything. He had zero interest in baby toys and would scream if we tried to contain him in the high chair. I made a sensory bag almost as an afterthought—leftover hair gel from my own bathroom, a ziplock bag, some tape. The first time I pulled it out at a restaurant, Jasper grabbed it and went completely silent. He squished. He stared. He pressed his face against it (weird, but okay). We ate an ENTIRE meal without a single meltdown. Now I never leave home without at least two sensory bags. I have a blue one, a pink one, a glittery one for special occasions. Fellow parents at restaurants see me pull them out and ask for the recipe. I feel like I'm sharing a secret handshake into a club of surviving-baby-dinners-in-public."
— Nina, mom of 11-month-old Jasper
Bonus Tips From Parents
- Make several bags in different colors so you can rotate and keep things novel.
- Cold sensory bags (stored in the fridge) offer a different sensory experience.
- Warm sensory bags (held under warm water briefly) are soothing for fussy babies.
- Write the date on each bag and replace monthly even if they look fine—materials degrade.
References & Further Reading
General guidance we rely on when writing activities. These are broad resources rather than sources for this specific craft.
Toddler Ages & Stages
American Academy of Pediatrics
What to expect physically, socially and cognitively from 1 to 3 years.
The Power of Play
American Academy of Pediatrics
Why unstructured, hands-on play matters more than structured lessons at this age.
Choking Prevention
American Academy of Pediatrics
How to judge whether an object is a choking risk, and what to do if it happens.
Art Material Safety & the AP Seal
Art & Creative Materials Institute
Look up which craft supplies are certified non-toxic for children.
Toddler Play & Learning
Raising Children Network
Evidence-based play ideas grouped by developmental skill.
Poison Control
America's Poison Centers
Free 24/7 guidance if your child swallows something they shouldn't.
Ready for more fun?