Sticker Scene Creation
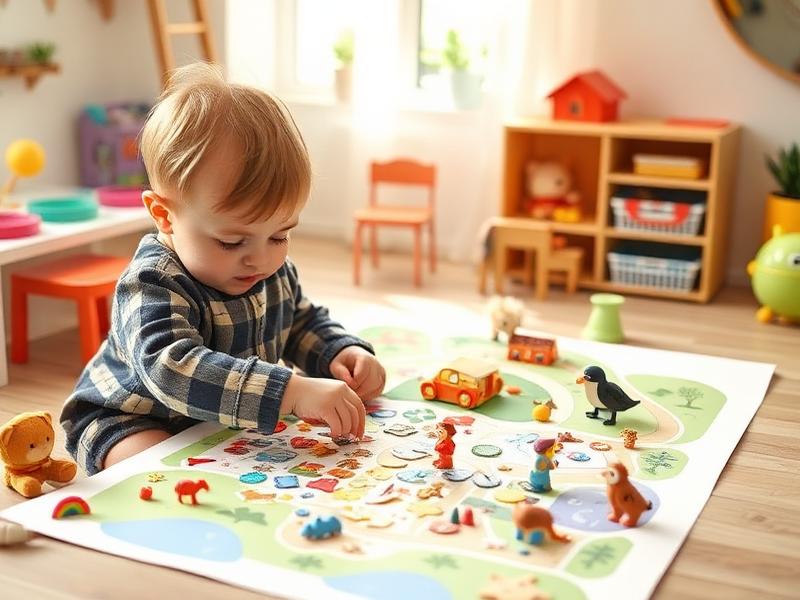
There's something deeply satisfying about watching a toddler peel a sticker off its backing and carefully—so carefully—place it exactly where they want it. My daughter spent twenty minutes last week creating what she called 'the bug park': a piece of construction paper covered in insect stickers arranged in what was clearly, to her, a specific and meaningful layout. When she finished, she explained the whole thing: 'This caterpillar is looking for his mommy. The butterfly is the mommy.' A whole story, told through strategically placed stickers.
Age Safety Note
Use only large stickers—at least 1 inch in diameter—to prevent choking. Even at 2-3, some children still mouth things. Supervise closely and redirect if stickers head toward mouths. Stickers stuck on skin come off easily with water. If your child is frustrated by peeling stickers off backings, partially peel them in advance so the edge is easy to grab.
Why This Activity Works
Sticker play is a fine motor workout disguised as fun. Peeling stickers develops the pincer grasp and finger strength needed for writing. Placing stickers requires visual-motor coordination and spatial planning. And the creative aspect—deciding where each sticker goes and why—builds narrative thinking and self-expression. For toddlers who aren't ready for complex crafts, stickers provide just enough structure with plenty of room for personal creativity.
Materials Needed
- Large stickers
At least 1 inch diameter. Theme packs (animals, vehicles, characters) are great for storytelling.
- Construction paper or cardstock
Sturdier paper handles sticker application better than thin paper.
- Crayons (optional)
For adding drawn elements to sticker scenes.
- Background scene (optional)
Pre-drawn or printed backgrounds give context for sticker placement.
Prep Tips (Before You Start)
- 1Pre-peel sticker edges for younger toddlers who struggle with the fine motor challenge of starting the peel.
- 2Offer themed sticker sets that spark storytelling: farm animals, ocean creatures, vehicles.
- 3Consider printing simple background scenes: a road for vehicle stickers, a field for animal stickers.
- 4Set up at a table with your child's chair pushed in so they can reach comfortably.
- 5Have a few extra sticker sheets ready—once they get going, they don't want to stop!
Step-by-Step Guide
- 1Present stickers and paper without over-explaining. 'Look at all these stickers! Where would you like to put them?'
- 2Let your child lead. Resist arranging or suggesting unless asked.
- 3If they're struggling to peel, offer minimal help. 'Can I start it for you? You finish peeling.'
- 4Ask open-ended questions: 'Tell me about your picture!' rather than 'What is this?'
- 5If interest wanes, add new elements: 'Should I draw a sun? A road for the cars?'
- 6When finished, admire the work together. 'Look at everything you made! Which is your favorite part?'
- 7Display the creation where your child can see it—on the fridge, in their room, in a 'gallery' of artwork.
Fun Variations to Try
- •Create greeting cards by folding paper and decorating the front with stickers.
- •Make sticker stories with a beginning, middle, and end arranged on a long paper strip.
- •Use themed stickers to illustrate favorite books or songs.
- •Create collaborative scenes where you and your child take turns adding stickers.
Cleanup Tips
- Sticker backings are recyclable—collect and recycle them.
- Store leftover stickers flat in a drawer or folder—crinkled sticker sheets are frustrating.
- Stickers on skin come off with water and gentle rubbing.
- Stickers on furniture or walls can be removed with a bit of oil or adhesive remover.
Real Parent Story
"Ellie went through a rough patch when her baby brother was born. She was clingy, whiny, and constantly needed attention. Our pediatrician suggested 'special time'—just 15 minutes of dedicated one-on-one time daily. Stickers became our special time activity. Every afternoon while the baby napped, Ellie and I sat at the kitchen table with stickers and paper. At first, she just stuck them randomly. But over weeks, her scenes became more elaborate. Now she narrates as she creates: 'This doggy is going to the doctor. This cat is the doctor. The doggy has an owwie.' I realized she was processing her feelings about her brother's arrival through sticker stories. The day she made a sticker family—'This is you, daddy, this is mommy, this is baby, this is ME'—and put herself right next to the baby sticker, I knew she'd turned a corner. Stickers aren't just a craft for us. They're therapy, connection, and fifteen sacred minutes just for her."
— Marcus, dad of 2.5-year-old Ellie
Bonus Tips From Parents
- Don't judge sticker placement—where they go is meaningful to your child even if it looks random to you.
- Stickers make great quiet activities for waiting rooms, restaurants, and car trips.
- Start collecting leftover stickers from birthday parties, doctor's offices, and mailings—free sticker stash!
- Laminate finished sticker art to make it more durable for display.
References & Further Reading
General guidance we rely on when writing activities. These are broad resources rather than sources for this specific craft.
Toddler Ages & Stages
American Academy of Pediatrics
What to expect physically, socially and cognitively from 1 to 3 years.
The Power of Play
American Academy of Pediatrics
Why unstructured, hands-on play matters more than structured lessons at this age.
Choking Prevention
American Academy of Pediatrics
How to judge whether an object is a choking risk, and what to do if it happens.
Art Material Safety & the AP Seal
Art & Creative Materials Institute
Look up which craft supplies are certified non-toxic for children.
Toddler Play & Learning
Raising Children Network
Evidence-based play ideas grouped by developmental skill.
Poison Control
America's Poison Centers
Free 24/7 guidance if your child swallows something they shouldn't.
Ready for more fun?